Wednesday, February 18, 2015

Gelato Techniques with Dry & Heat Embossing

Hello Scrappin' Peeps!


My tutorial is all about using Gelatos with Embossing Folders and Heat embossing techniques.  I am going to show you three different techniques that you can use to get some wonderful textured designs using Gelatos by Faber Castell.  In addition, I will show you a similar effect using the same techniques and products you may already have on hand if you haven't had a chance to purchase
Gelatos yet.

If you are not sure what Gelatos are, here is a picture of the first set of Gelatos I purchased:


Gelatos are creamy sticks of pigment color.  They come in 36 colors including 6 metallic colors. They can be used dry or they can be mixed with water and other mediums such as Glaze, Gesso, Gel Medium or Modeling Paste.  This makes them a versatile color medium to use on your cards and scrapbook pages.


The first technique I'd like to share with you is probably my favorite!  It is so quick and easy with amazing results.


TUTORIAL #1 - Dry Embossing with Dry Gelatos:


1)  Start with a piece of plain white cardstock.  I have a piece of 110 lb cardstock cut to 4" x 5 1/4" inches so it will fit nicely on a 4 1/4" x 5 1/2" card.

2)  Emboss the cardstock using your embossing tool.  I use a Cuttlebug and the embossing folder I am using is designed by Anna Griffin for Cricut/Cuttlebug called Juliet Damask.


3)  Choose 2 or 3 gelatos of your color choice.  I am using three of the colors above - Guava (light pink), Raspberry (plum), Bubble Gum (hot pink).  Randomly color over the embossed image.


4)  Now comes the fun part.  Use your finger to blend the colors together.  You could also use a special blending tool (sold separately).  You could also use a foam blending tool or cosmetic sponge for applying makeup but I find my finger works best and it washes right off with soap and water.


5)  All done!  Here's my completed card.  You could use this technique on die-cuts or tags or as backdrops or on frames for your photos for your scrapbook pages as well.


Alternative Method using Dry Embossing and Crayons:
1)  Dry Emboss your cardstock.  Pick out several colors of crayons in similar shades.  


2) Color the entire design use some pressure so that you will get a more vibrant color.  Darker colors tend to work better.


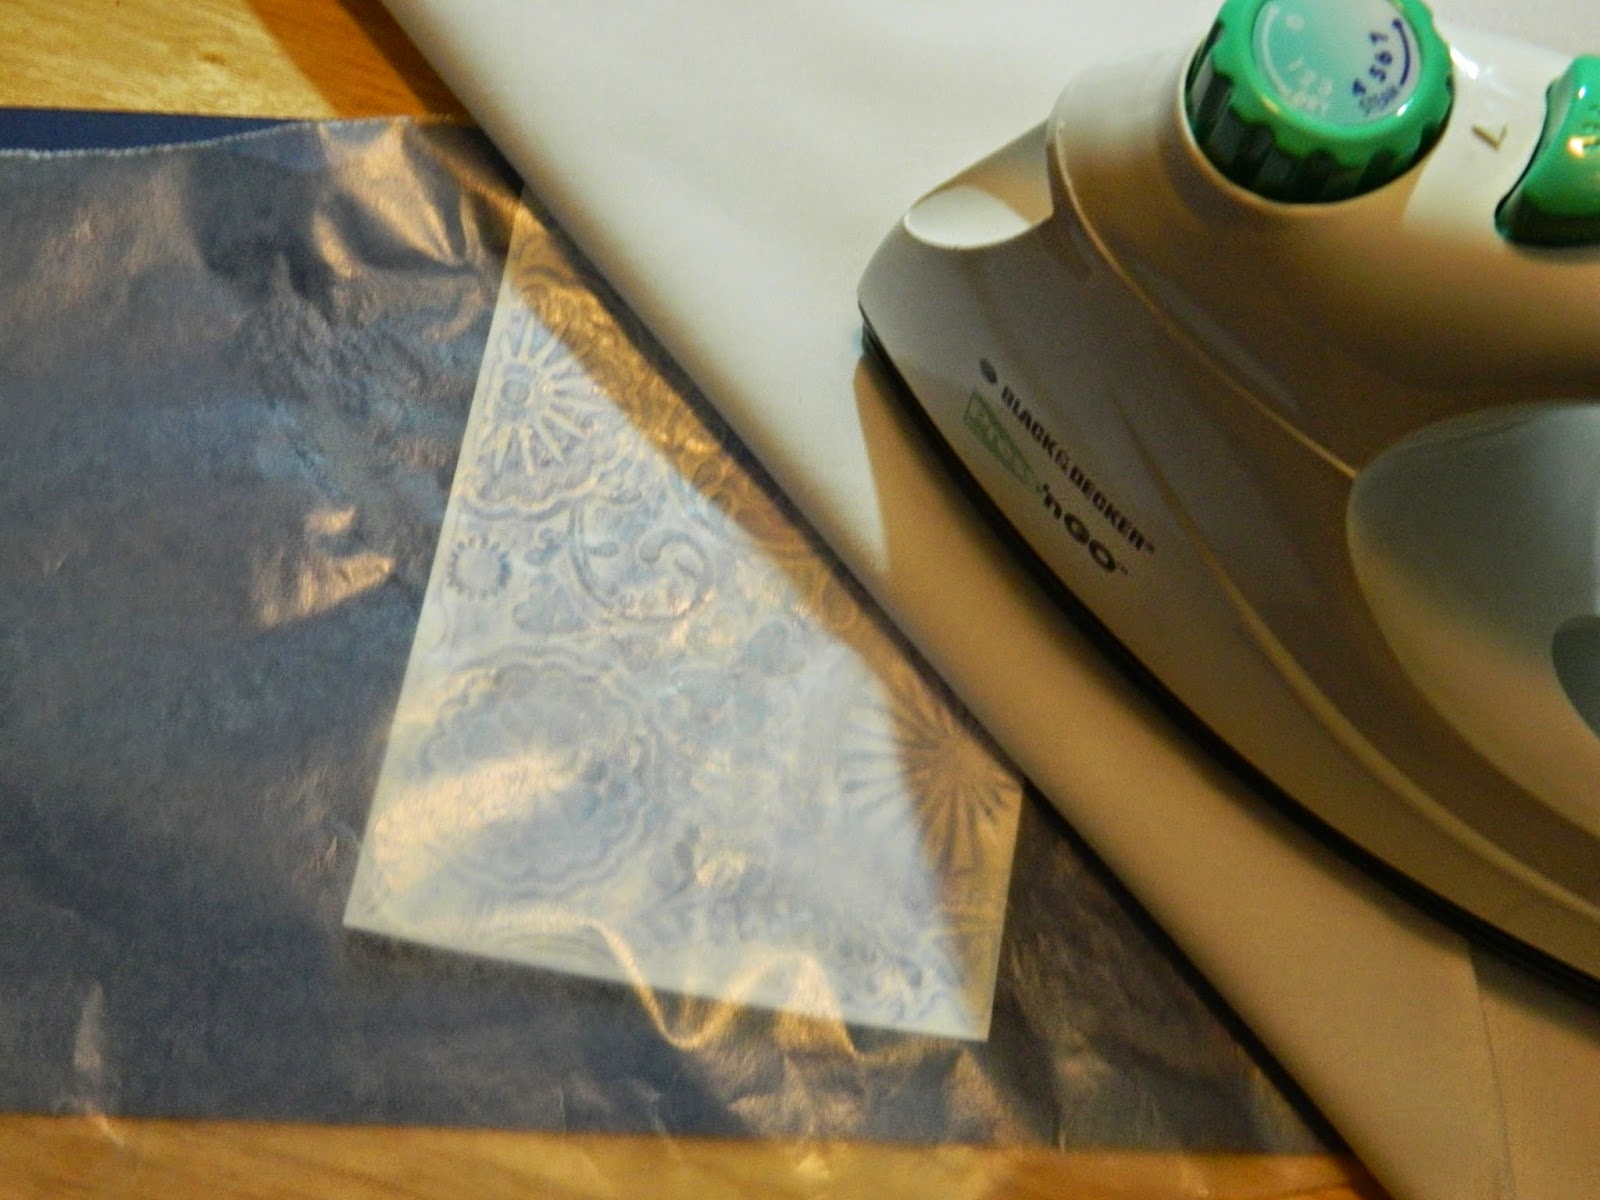
3)  Now to blend the colors you will need a piece of material, some wax paper and an iron.  You will place the wax paper over your design, and the material over the wax paper to protect your iron.  You will need to set your iron on a medium-high setting to get it warm enough to melt the wax you put on the cardstock.  Move your iron around as you iron over the design.  This can take a few minutes until you achieve your desired effect. 


4)  Here's the finished product. 


Thursday, May 22, 2014

Peeled Paint

I've had this picture in my mind for a while.  It's a picture of green peeled paint.  I'm pretty sure there was something in our house when I was really young that looked like that distressed green peeled paint.  And then the other day, we stopped at the market on our way home.  Willie's has a little bit of everything.  A large selection of indoor and outdoor plants and planting materials, fresh fruits and vegetables and unique "country" furniture and decorative items.  And the first thing I saw was this beautiful hutch in green peeled paint.  Wish I could have bought it and brought it home but alas it will not fit in my tiny kitchen!

So I decided it was time to get to work on creating my peeled paint layout!  I watched several online videos before starting and wasn't sure how this would turn out.  It is definitely unique and "one-of-a-kind".

First I started with some brown cardstock, then I mixed some dark green, lime green and white acrylic paint together and painted over it.  Then I added some Tim Holtz Picket fence distress paint over it.  I actually added some more green, some brown and some more distress paint until I achieved a color combination I was satisfied with.  Then I added Tim Holtz Distress Crackle in rock candy.  You have to apply it pretty thick to get it to crackle.  I put it aside and let it dry until the next day.

Here's a closeup of the crackle effect:


I had to rough up the edges of the paper to give it that old distressed appearance and since it had so many layers it was a little warped so I matted on another piece of brown cardstock.

I knew I wanted to an early picture of my Mom.  These pictures are just priceless.  The flowers are Prima, the thread embellishment is from MME, the keyhole is Tim Holtz and one of my friends sent me the crocheted doily.  I've had them all in my stash for quite some time now.


I added some "Sweet Threads" by Basic Grey and an Authentique piece with the blackbird and flowers for the background papers.  The tag at the bottom is made from the packaging the flowers were on.  It's been a long time since I did a "vintage-distress" layout like this one but I love how it turned out!  Here's the full view:


Tuesday, February 25, 2014

Celebrating 50 Years of Me!

I just had a birthday and it was a BIG one!  I still can't believe I've been around for 50 years.  I still feel like a kid and so I had a big birthday party to celebrate.  It was one of the best birthday parties I've had.

For this layout I was inspired by the February inspiration photo at www.Scrapstuffz.blogspot.com.   I was inspired by the bright colors, the cupcakes and those wonderful layers.  I chose to include the scalloped layers like the ones on the cupcake tower. And added the sprinkles because I liked how all the cupcakes were decorated.  What a fun picture and a great way to show how much fun I had at my birthday party.

Here is the inspiration:


Here is my layout:


Thanks for stopping by!


Monday, February 17, 2014

Snowy Season

I have been wanting to update my blog for so long now.  Just doesn't seem to be enough hours in the day to do all the things I want to do.  And when I do have time, I usually either am not home with access to my pictures or I am at home with no energy to blog.

This year we are having a rather hard and long winter.  While we have it easier here than in other parts of the country, still we are having some serious winter blues.  Everyone is so ready for Spring to arrive. I have to say that my favorite part of winter is that I get some additional time to scrapbook.  If I'm stuck inside I might as well make good use of my time to use up some of my stash.  So here's a few of my projects that I've managed to make in the last few months.  I seem to be doing a cleaner style than my more elaborate pages.  I think that is because I am trying to play catch-up and because I try to finish many of my projects within the same day rather than having the same layout on my desk for several days.  I miss doing the mixed media and blog inspired challenges so I'm hoping to get back to doing those again soon.  


Thanks for stopping by... have a blessed day!


Monday, December 9, 2013

Crafting Christmas

One of my favorite parts of Christmas is to make homemade cards, gifts and home decor items.  I had gotten away from it for the last few years but am truly enjoying returning to it this year.  Past years have found me so busy with gift wrapping, cookie baking, shopping and practicing for Christmas plays that I had forgotten how much I like making things for the holidays.

I saw this banner in the Hobby Lobby scrapbooking publication in an advertisement for Glue Dots.  I loved it and decided to replicate it using my own materials.  The only things I needed to purchase were the burlap and canvas.  Burlap is so trendy right now that when I went to buy it I had to get specialty burlap (it has silver in it) because they were sold out of the regular kind.  Here's what it turned out like:


I knew just where I planned to hang it...in the cutout window between my kitchen and living room.  Then I realized I would have to make the other side pretty too.  So I decided to cutout a fancy design from the Damask Decor Cricut Cartridge with a snowflake motif and used some of my lovely snowflake embellishments that my friend, Heather (ScrapHappyLady) sent me last Christmas.  I knew just what it needed to say HOPE.  To remind me of The Lord and to keep my faith strong and Hope in Him for a bright New Year.  


Tuesday, October 29, 2013

Christmas is on its Way

I have been busy reading my emails and browsing Pinterest lately finding inspiration for my Christmas cards.  I look forward each year to making them and usually start by July.  This year I started in late September.  Once I started I really haven't felt like doing much else in the way of layouts or other types of cards.  It has been so much fun.

My first one was inspired by an email I received from my local StampinUp! Demonstrator, Carolyn Serviss oh2bstampin.com.  Loved the look of the stamped gold stars on the white background.  The die-cut was from the Damask Decor cricut cartridge.  Added some glitter and colored a clear rhinestone with my alcohol ink marker to match.


This next one was in an email from Paper Crafts magazine.  I bought some sequins a while back and thought this was a great way to showcase them.  I didn't have any paper with writing on it so made my own using a font called Christmas Card.  The Christmas tree was cut from the Christmas Cheer cartridge.


I.have a couple of friends who are really into the Country Primitive decor for their homes and wanted to do a simple country berry wreath but couldn't find a stamp or image to use so I doodled out the simple  wreath design.  Love the contrast of the dark red with the white dry embossed snowflake background. 

 
I have made some other designs too and am about halfway there with the number of cards I need this year.  With less than two months to go, it may be a challenge but I think I am up for it!

Thursday, May 3, 2012

Longwood Gardens Special Moments

Frosted Designs - Fabulous Friday Challenge - April 27, 2012

I love the look of using rolled paper on layouts but had never tried it before.  This layout was created for both this challenge and the April color challenge at Club CK to use green, black and yellow as your main colors.  I had a lot of fun creating this layout.  The rolled paper in DCWV cardstock that I used Tattered Angels Mist in light shades of yellow and green.  This helped me get the paper more flexible for distressing and rolling.  Then I used my Stampin Up! roller to add some green ink on either side.  The patterned paper and quote are Quick Quotes - Damsel in Distress line.  The flourish was hand-sewn using a Bazill Basics Template.  The flower is Prima.  Definitely one of my favorite layouts!