Hello Scrappin' Peeps!
My tutorial is all about using Gelatos with Embossing Folders and Heat embossing techniques. I am going to show you three different techniques that you can use to get some wonderful textured designs using Gelatos by Faber Castell. In addition, I will show you a similar effect using the same techniques and products you may already have on hand if you haven't had a chance to purchase
Gelatos yet.
If you are not sure what Gelatos are, here is a picture of the first set of Gelatos I purchased:

Gelatos are creamy sticks of pigment color. They come in 36 colors including 6 metallic colors. They can be used dry or they can be mixed with water and other mediums such as Glaze, Gesso, Gel Medium or Modeling Paste. This makes them a versatile color medium to use on your cards and scrapbook pages.
The first technique I'd like to share with you is probably my favorite! It is so quick and easy with amazing results.
TUTORIAL #1 - Dry Embossing with Dry Gelatos:
1) Start with a piece of plain white cardstock. I have a piece of 110 lb cardstock cut to 4" x 5 1/4" inches so it will fit nicely on a 4 1/4" x 5 1/2" card.
2) Emboss the cardstock using your embossing tool. I use a Cuttlebug and the embossing folder I am using is designed by Anna Griffin for Cricut/Cuttlebug called Juliet Damask.


3) Choose 2 or 3 gelatos of your color choice. I am using three of the colors above - Guava (light pink), Raspberry (plum), Bubble Gum (hot pink). Randomly color over the embossed image.


4) Now comes the fun part. Use your finger to blend the colors together. You could also use a special blending tool (sold separately). You could also use a foam blending tool or cosmetic sponge for applying makeup but I find my finger works best and it washes right off with soap and water.


5) All done! Here's my completed card. You could use this technique on die-cuts or tags or as backdrops or on frames for your photos for your scrapbook pages as well.

Alternative Method using Dry Embossing and Crayons:
1) Dry Emboss your cardstock. Pick out several colors of crayons in similar shades.

2) Color the entire design use some pressure so that you will get a more vibrant color. Darker colors tend to work better.

3) Now to blend the colors you will need a piece of material, some wax paper and an iron. You will place the wax paper over your design, and the material over the wax paper to protect your iron. You will need to set your iron on a medium-high setting to get it warm enough to melt the wax you put on the cardstock. Move your iron around as you iron over the design. This can take a few minutes until you achieve your desired effect.


4) Here's the finished product.


TUTORIAL #2 - Dry Embossing with Gelatos & Water:
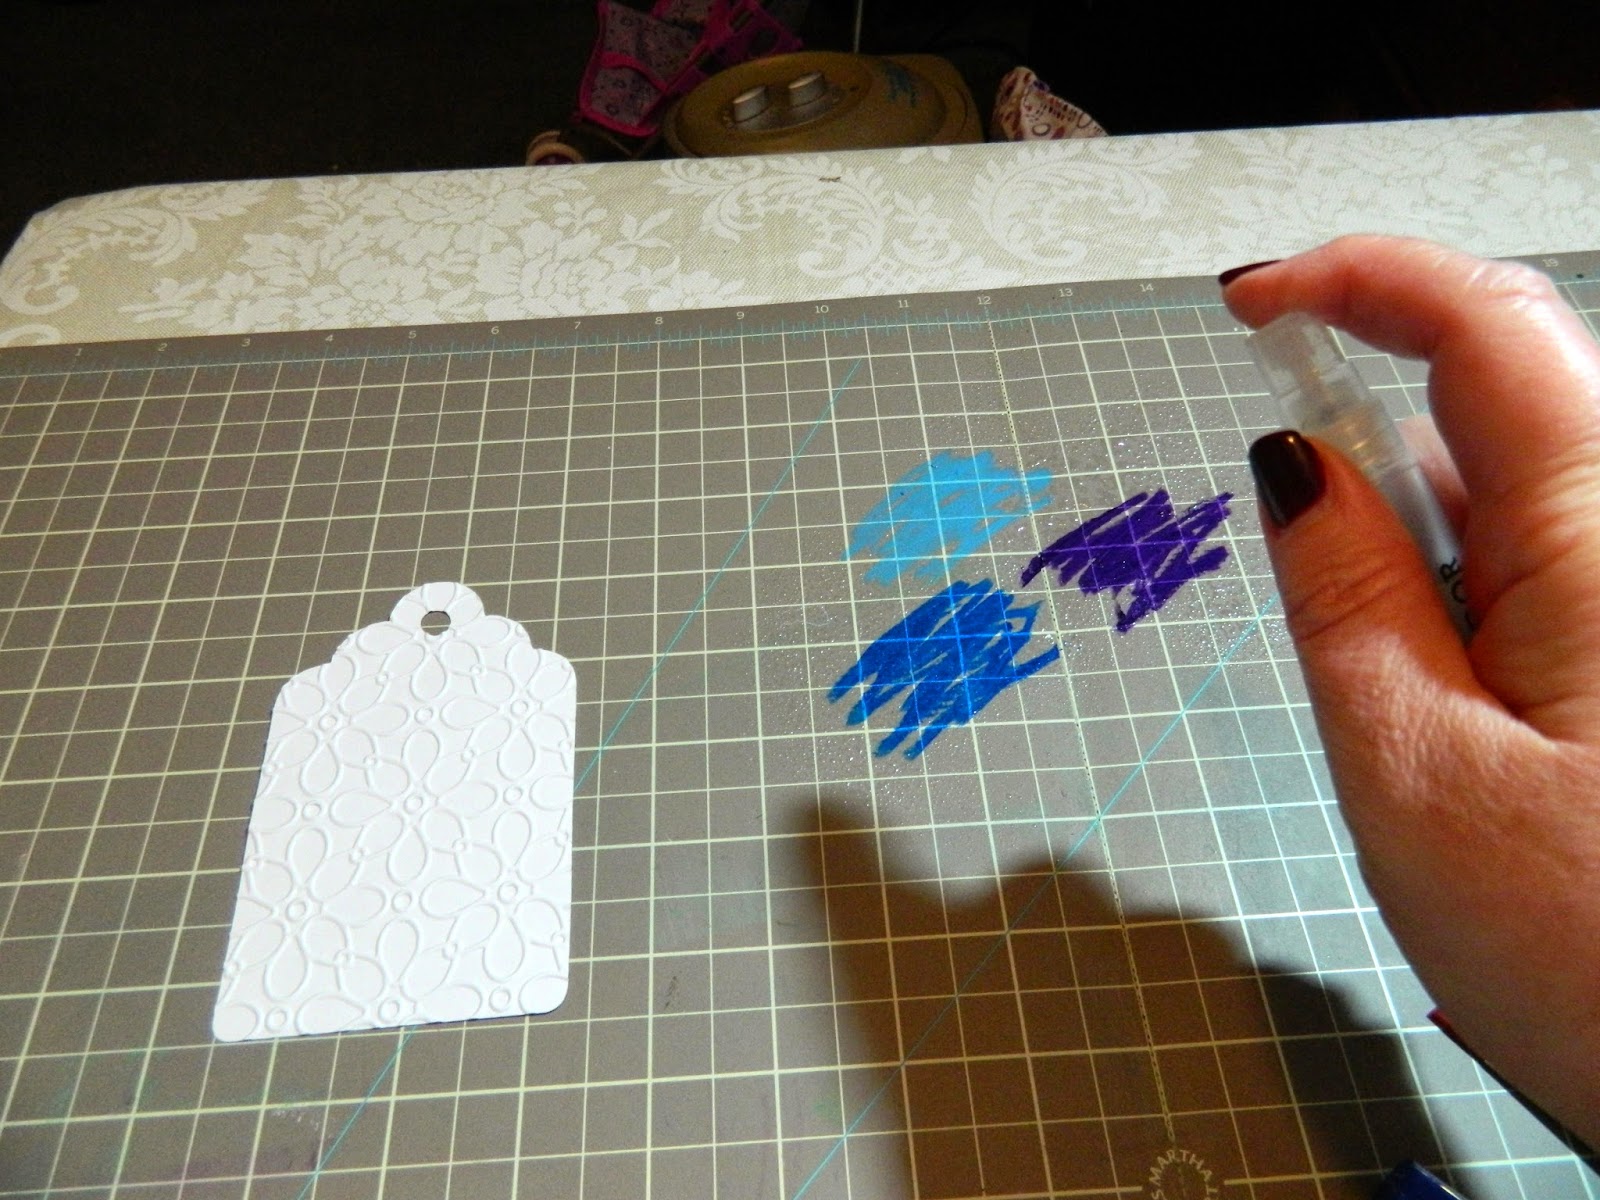
1) Let's do some tags this time! Dry emboss your tag with your embossing folder and pick out some gelatos to color your tag. Rub the gelatos on your craft mat.


2) Grab your mini-mister and spray some water on top of the gelatos on your mat.

3) You can use the paintbrush that comes with your Gelatos to paint the color on the tag:


4) This give you a little more control of where the color will be and can allow you to leave some white areas:

5) You can wipe up your mat with a baby wipe!

6) Another method to do this is to color directly on the tag and spray the tag with water.


7) You can use a damp baby wipe or the Tim Holtz foam blender (love this tool!) or even a damp cosmetic sponge to spread the color on the tag:


8) This method will saturate your paper more so be careful not to get it too wet. But the results are full coverage that is well blended:

9) Let your tag dry and use it by itself or include it on a card or scrapbook layout!
Here's my scrapbook layout with my tags:


In the lower right picture, I colored on a flowered stamp with a gelato and stamped on the canvas sticker then I used my finger and smudged the canvas to give it a light purple tint!
Special Thanks to Robyn, our Camp Leader, for the metal dragonfly and Candee (ScrapJag) for the pretty purple flowers!
Alternative Method using Water Based Markers:
1) Again you will start with a dry embossed tag. Then you will add your markers to your craft mat. I used Tim Holtz Distress Markers because their colors are so much more vibrant but any water based marker will work - you'll just have to add more color to your mat as these dry out much faster. Spray your ink with some water.


2) Blend your colors onto your tag and you will have another beautiful tag for your projects.


TUTORIAL #3 - Heat Embossing with Gelatos:
1) I enjoy heat embossing! I have to say I used to "fear" it a little bit. But one day I ran across someone doing a resist technique with clear embossing powder and I have been sold on it ever since. You will need some stamps, embossing ink (I like Versamark), some clear embossing powder, a heating gun and some cardstock. Now I really wanted to do this on a 12 x 12 scrapbook page as a background but this is not the best quality of cardstock and it warped a bit so I would suggest using some heavier weight cardstock if you have it. I picked the yellow, orange and green gelatos and the big leaf stamp to match my Fall picture.

2) Generously stamp the embossing ink over your stamp and stamp your image as desired on your page. Check your stamp before stamping to be sure you have gotten the ink all over the stamp and hold it in place for several seconds with some pressure. Next, place a sheet of scrap paper under your page and pour the clear embossing powder over your stamped imaged. Shake the embossing powder off of your image onto the scrap paper and pour the excess back in your jar to use again. Repeat as often as you like.


3) Let your heating gun warm up for a minute or two before using it to melt your embossing powder. Hold the heating gun over your image and move it around in circles sort of like ironing in the air! You may not see it melt at first, but keep going! You will start to see the embossing crystals melt and become shiny.


4) GELATO time!!! I am scribbling my gelato colors onto my craft mat. Be aware that the color may stain your mat if that is of concern to you, you may want to scribble them on foam or plastic plate. Next I'm using my mini-mister to add some water to them. I love this TH foam tool (did I say that before???) to move those colors around on my page. A makeup sponge or your fingers will work though. I used different sponges for the different colors and worked in a circular motion to apply it to the page. You will likely need to continue to scribble and spray more water on your colors if you want enough for the whole page.


Alternatively, you can color directly on the page and then wet your sponge to move the color around. This actually deepens the amount of color on the page.

5) One last step is to take a damp (not wet) cloth and to gently go over the embossed areas to remove any stray color left on top of the design.


6) Here's my finished layout: I love how vibrant and fun these colors are!

Alternative Method using Distress Inks for the coloring:
1) Really this is exactly the same except for using your inks and putting them on the mat and spraying with water and going over them using the steps above. Distress Markers also work great for this! Love doing this on tags! I'm going to use some of my manilla tags die-cut from old file folders and add a little gesso!

2) Next I'm going to stamp one of my Tim Holtz Visual Artistry stamps I received from one of my fine peeps (oops! I forgot which one!). Then I added the clear embossing powder like before and melted it with my heat gun. I just rubbed the Distress ink pad in Tea Dye on my craft mat, sprayed it with some water and used another one of the nifty (and inexpensive!) foam brushes to "paint" on the ink. Then I used another stamp with blank ink for added interest.

3) Here's my finished tag. Love that rusted heart embellishment? Robyn made it! Check out her Technique Camp post to find out how to make one!

Well I hope you all enjoyed the tutorials! Thanks for checking them out and I hope you feel inspired to try some gelatos on your next project. Don't forget to participate in all the Technique Camp events and play along with the challenges!
Awesome techniques and great tutorial! Thanks!!
ReplyDelete